
The first clue is usually the sound: a dull click from the cabin lever, then nothing, then the hood sitting there like it changed its mind. If you need to fix car hood latch trouble, start by treating it like a mechanical problem, not a dare. Most failures are simple: dirt packed into the latch, a dry spring, a stretched cable, or a hood striker that drifted out of alignment after a small bump. The good news is that many cases cost less than a tank of gas to address. A can of lubricant is about $10 to $20, while a basic latch or cable part can run from $15 to $120 before labor. The key is knowing when to clean, when to adjust, and when to stop forcing it.
Safety matters here because a hood can look closed when it is not. That means the secondary catch, the little backup safety lever, is doing the real work. If the main latch is sticky but the hood is already open, you can usually inspect it without drama. If the hood is shut and the release cable feels slack or disconnected, resist the urge to pry with a screwdriver near the grille. Bent trim, scratched paint, and a misaligned hood are easy to create and annoying to undo. On a road trip, that kind of repair can turn a quick lunch stop into a long afternoon, which is exactly why a methodical approach pays off.
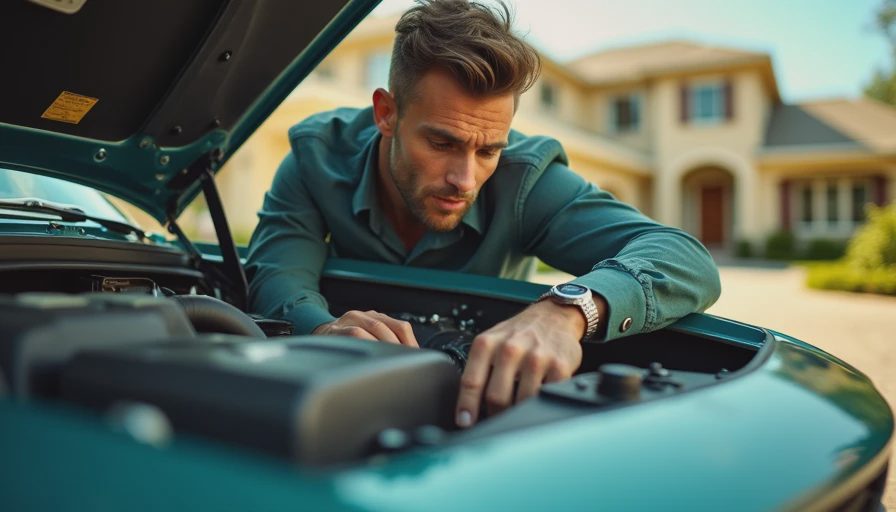
Can you fix car hood latch issues at home?
Yes, if the problem is dirt, dry grease, or a hood that just needs a small alignment tweak. A home repair starts with the basics: park on level ground, set the parking brake, and make sure the transmission is in Park or in gear if it is a manual. If the hood is already open, look closely at the latch, the striker, and the cable end. You want to see whether the spring moves freely and whether the metal parts have rust, old grease, or road grit built up around them.
If the hood is stuck shut, have one person pull the interior release while another gently presses down on the hood right above the latch area, then lets it rise slightly. That can relieve tension on a misaligned striker. If it still will not pop, stop there. You are not trying to muscle the hood open with brute force. You are trying to diagnose where the mechanism is hanging up.
A flashlight, a rag, and a can of silicone spray or white lithium grease are often enough for the first pass. The detail that matters is where the cable meets the latch. That is where frayed strands, a broken clip, or a weak return spring usually show up first.
How to fix car hood latch problems safely
If you can reach the latch, clean it before you lubricate it. A small brush or old toothbrush removes the gritty layer that turns grease into paste. Wipe the area with a rag, then apply a light coat of lubricant to the pivot points and spring. I prefer a light product here rather than heavy oil, because thick residue collects dust and salt. CRC White Lithium Grease and WD-40 Specialist Silicone are common shelf options for this kind of job.
Next, test the cable tension. The release handle should feel firm, not floppy. If it feels too loose, the cable may have stretched or the inner wire may be breaking down. Replacement cables commonly land in the $15 to $80 range for parts, though labor can push a simple repair closer to $150 or $250 at a shop. A full latch assembly usually runs $30 to $120, depending on the car.
Do not skip the hood bump stops, the rubber pads that control height when the hood shuts. If they are too high, the latch can sit under tension and refuse to release cleanly. If they are too low, the hood can sit crooked and rattle. A quarter turn on those stops can make the difference between a hood that opens smoothly and one that acts like it is welded down.
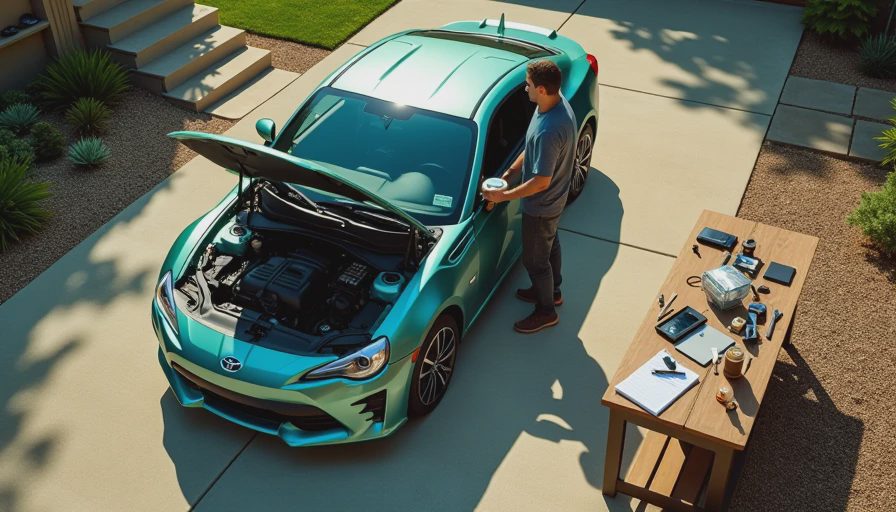
What usually causes the latch to stick
Most stubborn hood problems come from ordinary wear, not dramatic failure. Winter road salt, dust, and moisture are hard on a latch that never gets cleaned. So is a front-end parking tap that barely dents the bumper but nudges the striker out of line. Even a hood that closes hard every day can slowly shift the latch geometry until the release cable works harder than it should.
The other common culprit is a cable that looks fine from the outside but has internal drag. You pull the handle and feel resistance, but the latch only moves partway. That half-click is the clue. In that case, the cable may be binding in its sheath or the latch spring may not have enough force to snap back. If you smell old grease or see orange rust around the mechanism, the problem is probably bigger than a quick spray.
I like to think about this the way I think about a road-trip snack stop: the first thing you notice is never the whole story. A sticky hood can seem minor right up until the day you are parked at a trailhead, the light is fading, and you need underhood access for a dead battery or a loose hose clamp.
When a shop should fix car hood latch damage
If the hood is visibly bent, the safety catch will not release, or the release cable snapped inside the cabin, a shop is the smarter move. Body shops and independent repair shops have the leverage tools and alignment gear to square up a hood, repair the striker, and verify that the latch engages at the right depth. That matters because a hood that is off by even a few millimeters can pop open at the worst possible time.
This is also the point where insurance can enter the picture. If the latch stopped working after a collision, collision coverage is usually the part that applies. If the damage came from something like a falling branch, hail, or an animal strike, comprehensive coverage may be the relevant section. Wear and tear is usually treated as maintenance, so a rusted latch or a stretched cable is often an out-of-pocket repair. If you already have roadside assistance through a policy or a club membership, towing can keep the situation from getting worse while you line up a proper repair.
A quick pre-trip check that saves time later
Before a weekend drive or a longer trip, close the hood gently and make sure it sits flush on both sides. Listen for a solid latch click, then lift the edge slightly to confirm the safety catch is holding. If the hood feels loose, catches late, or needs a hard slam, deal with it before you leave. That is especially true before a mountain run, a long freeway stretch, or any drive where you would rather be thinking about dinner reservations than hardware problems.
A quick inspection every oil change is enough for most cars. Clean the mechanism twice a year, add a light lubricant film, and check that the cable has a smooth pull. If the problem keeps coming back, do not keep chasing it with the same spray can. At that point, you are better off asking a technician for a latch and cable inspection, plus a front-end alignment check if the hood has ever been bumped. If you want a repair estimate, get one before the hood stops cooperating on a busy morning.