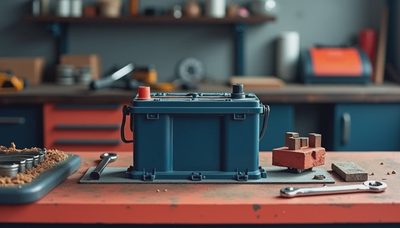
There is a particular smell that tells you an oil leak has moved from annoying to urgent: hot engine oil landing on the exhaust, sharp and smoky after a short drive. If the source is the oil pan gasket, learning how to install an oil pan gasket can save a repair bill and keep your car ready for the next long weekend. The job is manageable for a careful home mechanic, but it requires patience, safe lifting, and a clean sealing surface more than brute force.
The oil pan sits at the bottom of the engine and stores circulating oil between trips through the oil filter and internal passages. Its gasket seals the joint between the pan and engine block. Age, heat, corrosion, loose fasteners, or an impact with road debris can compromise that seal. Before buying parts, confirm the leak with a flashlight and a degreased engine area. Oil can travel from a valve cover, rear main seal, drain plug, or oil filter housing and make the pan look guilty.
Confirm the leak and gather the right tools
A repair begins with diagnosis. Park on a level surface, let the engine cool, and clean oily residue around the pan with an automotive degreaser. After a short drive, look for fresh oil beginning at the pan rail rather than above it. A UV dye kit can help when several areas are damp, although it is not essential for a clear leak.
For how to install an oil pan gasket successfully, gather a replacement gasket designed for the exact year, engine, and drivetrain, plus the correct oil and filter. You will also need ramps or jack stands rated for the vehicle, wheel chocks, a drain pan, socket set, torque wrench, plastic scraper, shop towels, nitrile gloves, and safety glasses. Some engines use a formed rubber gasket; others require a molded seal or a specified RTV sealant. Read the service instructions before opening the first bottle of oil.
Never rely on a hydraulic floor jack alone. Set the parking brake, chock the wheels, and support the vehicle at approved lift points. If the pan is badly rusted or the engine has to be supported while a crossmember comes down, stop and use a professional shop.

Remove the pan without damaging the engine
Place the drain pan beneath the drain plug and remove the plug carefully. Let the oil drain fully, then reinstall the plug only if the pan will remain in place during the repair; otherwise, keep the plug and washer together where they cannot disappear. Remove splash shields or skid plates as needed. Photograph the underside before disassembly so brackets and fasteners return to their original positions.
The practical sequence for how to install an oil pan gasket starts with loosening the pan bolts gradually in a crisscross pattern. Leave two bolts loosely threaded until the pan is supported, then remove them and lower the pan straight down. Do not pry aggressively against an aluminum engine block or timing cover. A plastic trim tool or purpose-made gasket scraper is safer than a screwdriver, which can gouge the sealing rail and create a permanent leak path.
If the pan sticks, tap its side lightly with a rubber mallet. Do not hammer the bottom or bend the flange. Inspect the pan for dents around the drain plug and bolt holes. A pan that has been pushed upward by a curb may hold less oil and fail to seal evenly, even with a brand-new gasket.
Clean, inspect, and prepare the sealing surfaces
Remove every trace of the old gasket and sealant from both mating surfaces. Use a plastic scraper first, then a lint-free towel with an appropriate solvent. Keep debris out of the exposed engine. A small amount of dirt can prevent a gasket from compressing evenly, while a metal gouge can become a slow, frustrating drip.
Lay a straightedge across the pan flange. Bolt holes that stand proud from repeated overtightening can be tapped gently back into alignment with a small hammer and flat block. Replace a severely warped or cracked pan. Inspect the bolts for damaged threads and compare their lengths; installing a long bolt in the wrong location can interfere with internal components.
When learning how to install an oil pan gasket, resist the temptation to cover the entire gasket in extra RTV. Many replacement gaskets are designed to install dry. If the manufacturer specifies sealant, apply only the stated beads at corners, joints, or semicircular transitions. Excess RTV can squeeze inside the pan and break loose, potentially obstructing oil pickup. Give the sealant its required cure time before adding oil.
Install the gasket and torque it evenly
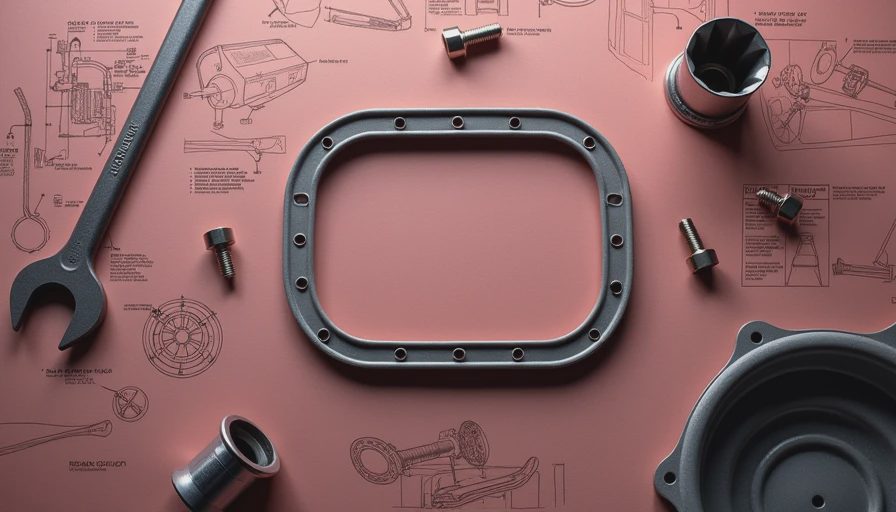
Position the new gasket on the pan or engine block according to the service instructions. Some designs use locating tabs; others need a few small dabs of sealant to hold the gasket during assembly. Start every bolt by hand. If a bolt resists after several turns, remove it and check the location rather than forcing it.
The key to how to install an oil pan gasket is even compression. Snug the bolts in a crisscross or outward-moving sequence, then use a calibrated torque wrench for the final pass. Typical small oil pan bolts may require roughly 7 to 15 foot-pounds, but the correct figure depends on the engine. Never substitute a guess for the manufacturer specification. Over-tightening can crush a gasket, warp a thin flange, or strip aluminum threads; under-tightening leaves a leak.
Reinstall shields, brackets, and the drain plug with a new crush washer when specified. Add the correct oil grade and quantity, then wait through any required RTV curing period before starting the engine. A short idle is enough for the first inspection. Watch the pan rail, drain plug, and nearby seals with a bright light.
Check the repair before a road trip
After the engine reaches operating temperature, shut it off and wait several minutes. Recheck the oil level on level ground and add oil if needed. Place clean cardboard under the car overnight. A few harmless drops of cleaner can appear, but fresh oil forming at the gasket line indicates a problem that should be corrected before driving far.
Take a short neighborhood drive, then inspect again. Do not judge the repair only by the absence of a puddle; a slow seep can take time to collect. Confirm that the oil pressure warning light stays off and that no oil is reaching the exhaust. Record the date, mileage, oil type, and any sealant used in your maintenance notes.
When a shop is the smarter choice
How to install an oil pan gasket is not always a driveway job. Some vehicles require engine lifting, subframe removal, transmission separation, or special support fixtures before the pan can come out. A vehicle with extensive rust can also turn a simple gasket replacement into broken fasteners and damaged brackets. A shop may charge approximately $300 to $1,000 or more depending on labor access and parts, but that cost can be reasonable compared with repairing stripped threads or an oil-starved engine.
If the oil pressure light is on, the oil level is dangerously low, or the leak is leaving a large puddle, do not continue driving. Arrange a tow. Done carefully, how to install an oil pan gasket becomes a satisfying maintenance project: diagnose the source, protect the engine, clean everything thoroughly, and let torque—not enthusiasm—create the seal.