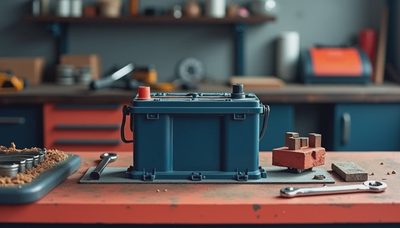
The first clue is often a dark spot on the garage floor, followed by the warm, sharp smell of oil after a drive. If you are researching how to install a oil pan gasket, start by confirming the leak really comes from the pan. Oil can run down from a valve cover, timing cover, or drain plug and collect at the lowest point. A careful diagnosis matters: replacing a gasket is a messy job, and the right repair begins before the first bolt turns.
This is a general guide, not a substitute for the service information for your exact vehicle. Oil pan designs vary widely. Some cars need only a straightforward gasket replacement; others require moving a crossmember, exhaust parts, or even supporting the engine. If the procedure calls for lifting the engine or working near suspension components, get a professional estimate before starting.
Confirm the leak and gather the right parts
Clean the pan and nearby engine surfaces with an appropriate degreaser, then drive briefly or let the engine run while parked and inspect for fresh oil. Keep clear of hot or moving parts. A UV dye kit can help trace a stubborn leak, but do not confuse old grime with an active seep. Check the drain plug and its washer, too. A loose plug or damaged washer can leave a drip that looks like a pan gasket failure.
Find the vehicle’s year, make, model, engine size, and, when needed, VIN before ordering. Compare the replacement gasket with the old one: bolt-hole count and shape must match. Some engines use a formed rubber or cork gasket; others call for a liquid sealant instead of a separate gasket. You may also need a new drain-plug washer, oil filter, and the correct amount and grade of engine oil. A parts store can help identify components, but the repair manual is the authority on fitment and procedure.
Gather sockets, extensions, a scraper that will not gouge the sealing surface, a drain pan, gloves, shop towels, a torque wrench, and approved jack stands if lifting is required. Never rely on a jack alone to hold a vehicle. Park on firm, level ground, set the parking brake, and let the exhaust and engine cool.

Make the vehicle safe and remove the pan
Disconnect the negative battery cable if the service procedure recommends it or if nearby electrical components could be disturbed. Raise the vehicle only at the manufacturer’s approved lift points, then support it securely on stands. Chock the wheels that remain on the ground. If you cannot confirm a stable setup, stop; working under an improperly supported car can be fatal.
Place a wide drain pan beneath the engine and remove the drain plug. Allow the oil to drain fully, then remove the filter if the procedure requires it. Take off any splash shield or component that blocks access. Photograph the underside as you go, and keep fasteners organized by location. Some bolts differ in length, and swapping them can damage parts during reassembly.
Loosen the oil pan bolts gradually, following the sequence in the manual if one is specified. Leave a couple of bolts loosely threaded until the pan is supported, then ease it away from the engine. Do not wedge a screwdriver between delicate mating surfaces. If the pan sticks, use the designated pry points or a soft mallet. A bent pan lip or gouged engine surface can create a new leak, turning a simple job into a more expensive repair.
Clean the sealing surfaces with patience
Remove the old gasket and any sealant residue without scratching the pan or engine block. A plastic scraper is a safer choice than a sharp metal blade on soft aluminum. Wipe the surfaces with a lint-free cloth and a cleaner approved for the materials. Keep debris out of the engine, and avoid pushing old sealant into bolt holes. Inspect the pan for dents, cracks, corrosion, and an uneven sealing flange. A dent near the drain plug or a distorted flange may call for pan replacement rather than another gasket.
This is the unglamorous part of how to install a oil pan gasket, but it often determines whether the repair stays dry. Check the manual for sealant type, bead location, and cure time. Some applications require small dabs at joints where castings meet; others prohibit extra sealant. Too much material can squeeze inward and obstruct an oil passage. Do not improvise with household silicone or a product that is not rated for engine oil and temperature.
Fit the gasket and tighten in sequence
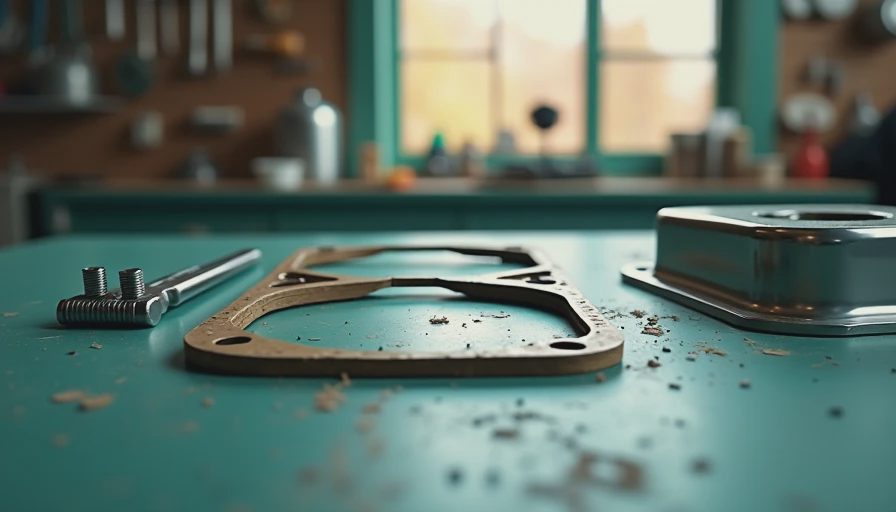
Position the new gasket carefully, using alignment pins or a small amount of the specified adhesive only if the manufacturer allows it. Make sure every bolt hole lines up and the gasket has not rolled or pinched. For a sealant-only design, apply the bead in the pattern and thickness specified by the service information. Reinstall the pan promptly if the product has a limited working time.
Start every bolt by hand to avoid cross-threading. Tighten them in the prescribed sequence, usually in several gradual passes, using a torque wrench set to the vehicle’s exact specification. There is no safe universal torque figure: pan material, bolt size, and engine design all matter. Overtightening can crush a gasket, strip threads, or warp the pan. Refit removed brackets, shields, and exhaust parts in their original positions, then install the drain plug with the specified washer and torque.
Refill, inspect, and decide when to stop
Install a new oil filter if it was removed or is due for service. Refill with the oil grade and quantity listed in the owner’s manual, then check the dipstick on level ground. Start the engine and watch the oil-pressure warning light; shut it off immediately if the light stays on or if you hear unusual engine noise. Look for leaks while the engine idles, then switch it off and recheck the level after the oil settles.
Follow the gasket or sealant instructions before driving. Some products require a curing period, so a quick test drive is not always appropriate. Once cleared to drive, take a short trip, park on a clean surface, and inspect again. Recheck the oil level after the first drive and look beneath the car the next morning. A fresh drip means the job needs attention, not simply another turn on every bolt.
If access requires major disassembly, bolts are badly corroded, threads are damaged, or the pan will not sit flat, a repair shop is the sensible choice. Asking how to install a oil pan gasket is a good starting point, but a service manual and safe workspace matter just as much as patience. Get a written estimate that separates labor, parts, and any related repairs; comparing that figure with the cost of the tools and your time can make the decision clear. A sound repair is what lets you leave the driveway without wondering what the next spot on the pavement means.